Why a Donut?
I started this project since I needed to create custom 3D assets for my Virtual Reality escape room game. I started with Blender since it has easy integration with Unity, is lightweight, and most importantly coz it's free.
But Blender can be overwhelming, with the sheer number of tools and options available. Enter the classic Blender donut tutorial.
The Modeling Process
The foundation was straightforward. Blender's torus primitive provided the perfect starting point. But early on you discover that perfect is not realistic.
So, I began by adding subdivision surface modifiers to smooth out the geometry, used sculpting tools to create subtle variations in the surface, and added small indentations and surface imperfections. The key was making the dough look soft and slightly irregular, just like a real donut would be.
Texturing
This is where the project really came to life. I created procedural textures for both the dough and icing, using Blender's node-based material system. For the dough, I layered multiple noise textures to simulate the porous, slightly rough surface of baked goods. I also added a subtle gradient to the dough to give it a more realistic appearance.
The icing was a different challenge entirely. I needed it to look glossy and slightly translucent, with just the right amount of thickness. I used subsurface scattering to give it that realistic depth, making it look like light was actually penetrating the surface rather than just reflecting off it.
The Sprinkles Challenge
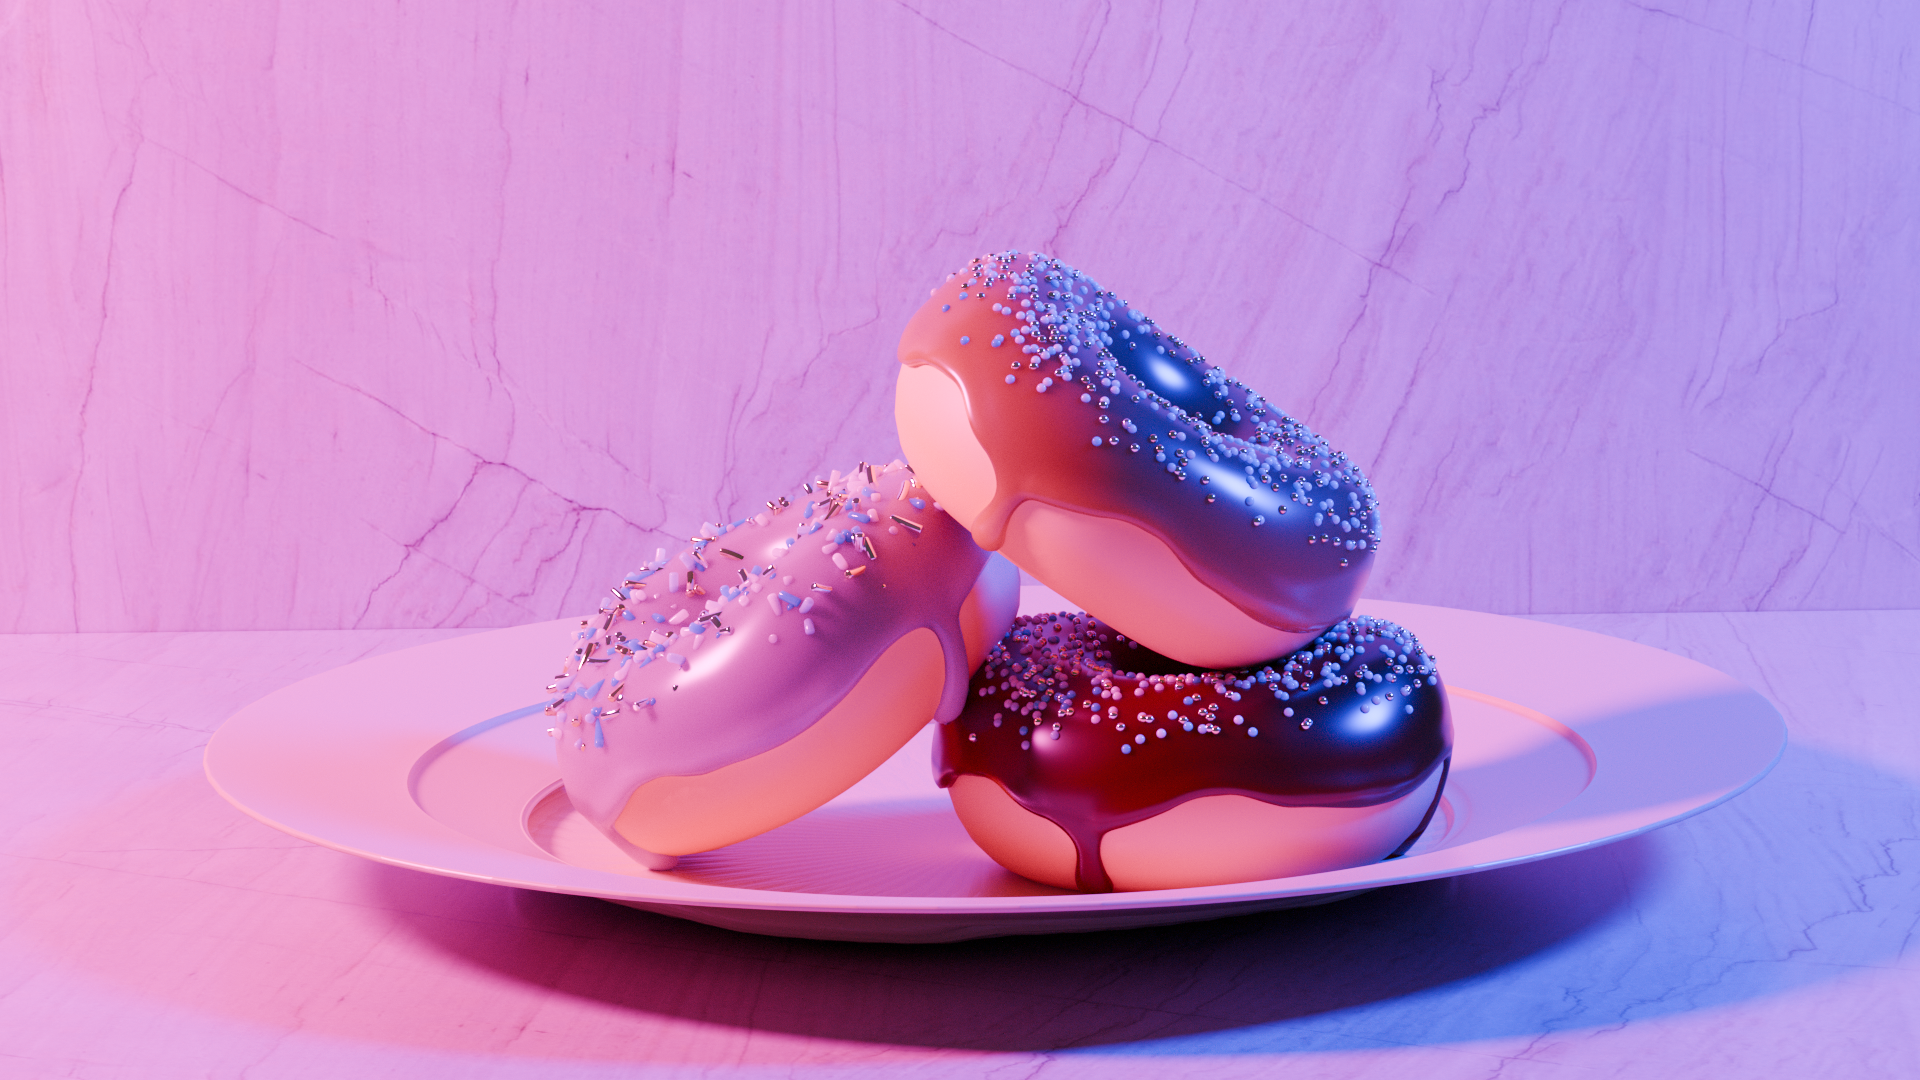
To add the sprinkles, I used the particle system to distribute them naturally across the icing surface. The trick was getting the right density—too many and it looked artificial, too few and it lacked visual interest. I also varied the colors and sizes slightly to mimic real sprinkles.
Lighting
For the final presentation, lighting was key. I added a red and blue light on the sides of the donuts such that they complimented the colors of the donuts and highlighted the sprinkles.
Rendering and Post-Processing
I used Cycles renderer for photorealistic results, though it required longer render times. The payoff was worth it. The subsurface scattering, realistic shadows, and accurate light behavior made the final image look incredibly convincing.
In post-processing, I made subtle adjustments to color balance and contrast, ensuring the donut looked warm and inviting without being oversaturated.
What I Learned
This project taught me that 3D modeling is as much about observation as it is about technical skill. It makes a difference to study how light interacts with the glaze, how the surface imperfections catch the light, and how the colors vary slightly across the surface.
And that the devil is in the details. A slight adjustment to the subsurface scattering settings could make the difference between plastic-looking icing and something that actually appeared edible.
The Final Result
Below is a video showcasing the final donut setup, demonstrating the various angles and lighting conditions:
Looking Forward
What started out as a project to learn Blender, developed into having an eye for detail and understanding how to translate real-world observations into digital art.
The donut tutorial is often joked about in the 3D community, but there's a reason it's so popular. It covers all the fundamental concepts: modeling, texturing, lighting, and rendering. More importantly, it teaches you to see the world in terms of geometry, materials, and light.
As I move forward with my VR project, I look forward to creating fun and complex puzzles that look realistic and immersive.